Dashboard Builder
Getting Started with the Default Dashboard
Users can access the default dashboard under the Dashboard tab, which is part of the Dashboard Builder section.
- In Dashboard Builder, users can add a map or a default dashboard type.
- By default in our example, the dashboard is set to map view.
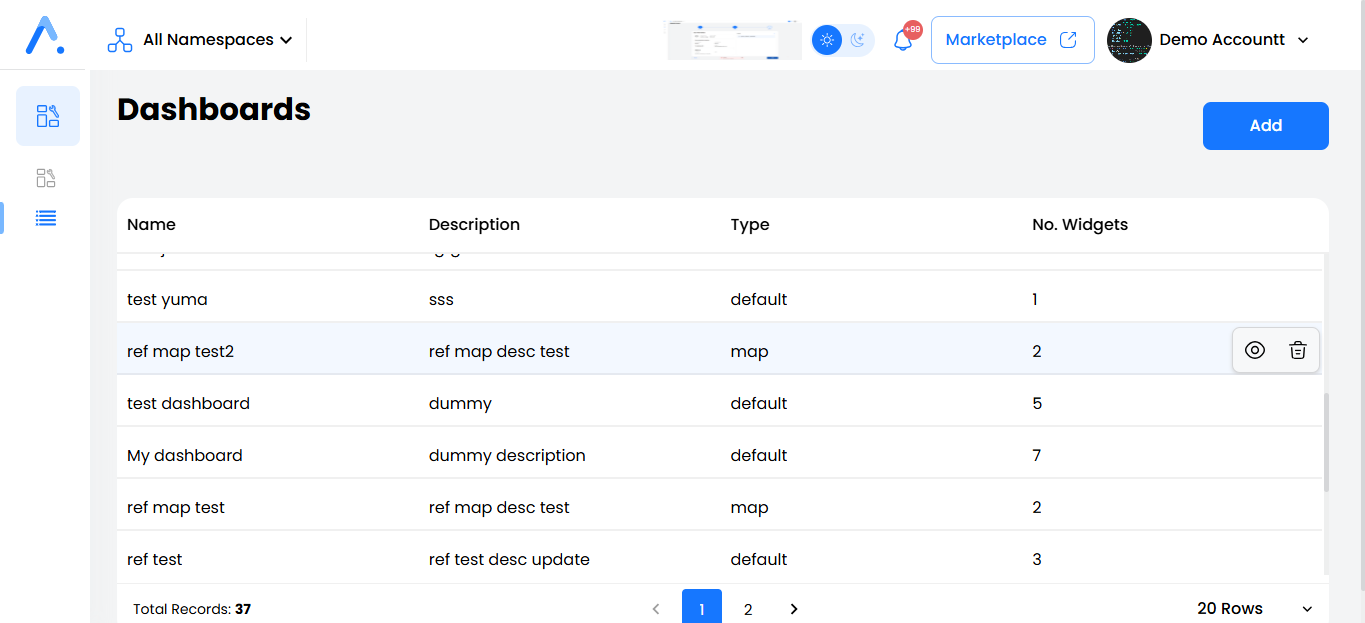
Dashboard List
On this page, users can view a table containing all dashboards. The table includes:
- Dashboard Name
- Type (e.g., Map, Default)
- Description
- Number of Widgets
Users can also:
- Click the Add button to create a new dashboard.
- View, delete a single dashboard, or perform bulk deletions.
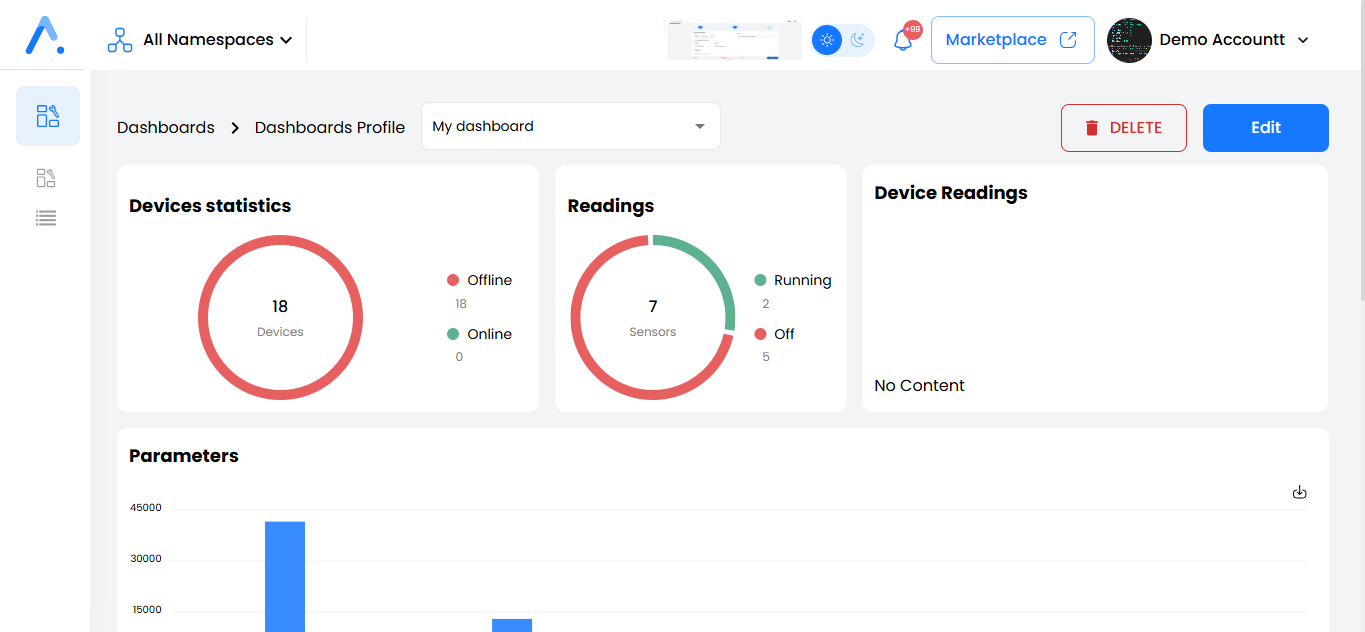
Viewing the Dashboard
Default Type
On this page, users will see:
- A dropdown list that displays the current dashboard name. Users can switch to other dashboards from this list.
- Two buttons: Edit and Delete for managing the selected dashboard.
- Below, all widgets in the dashboard are displayed. Users can:
- Download widgets (if supported).
- Edit the date picker (if filters are available).
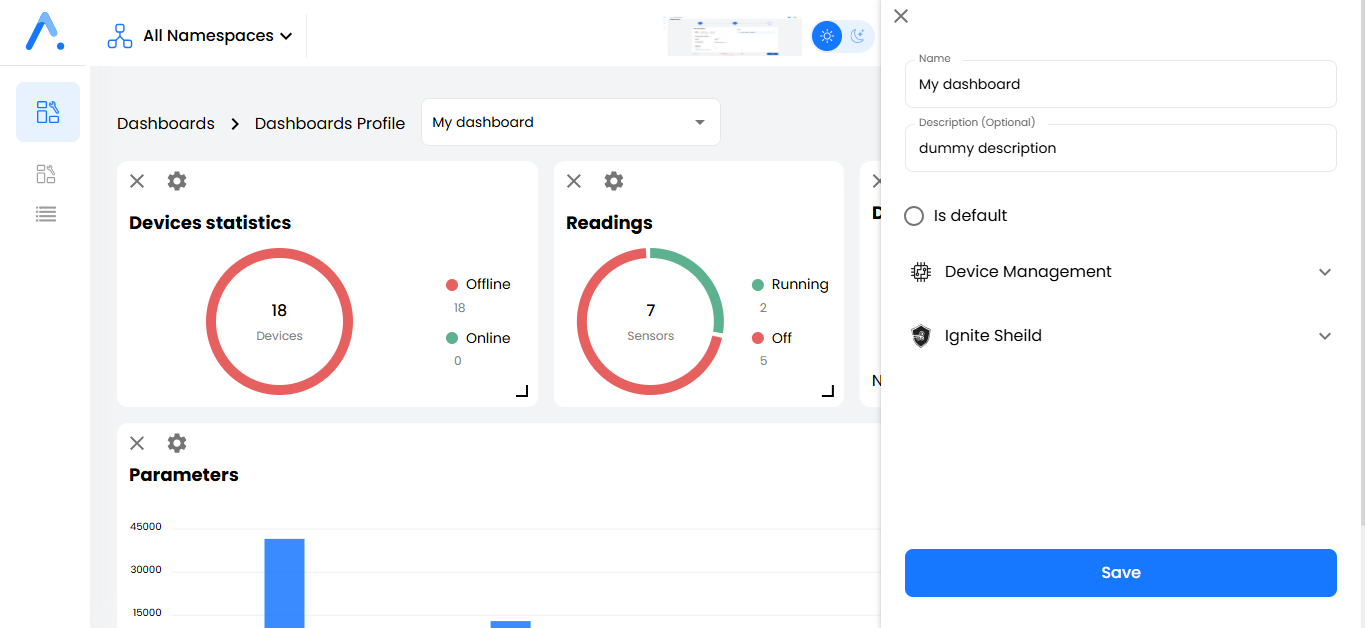
Editing the Default Dashboard
When users click Edit, they will be taken to a page where they can:
- Resize and reorder charts within the dashboard.
- Click the Settings icon to:
- Add more charts from any supported app in Dashboard Builder.
- Set this dashboard as the default (displayed on the main page).
- Save changes when finished.
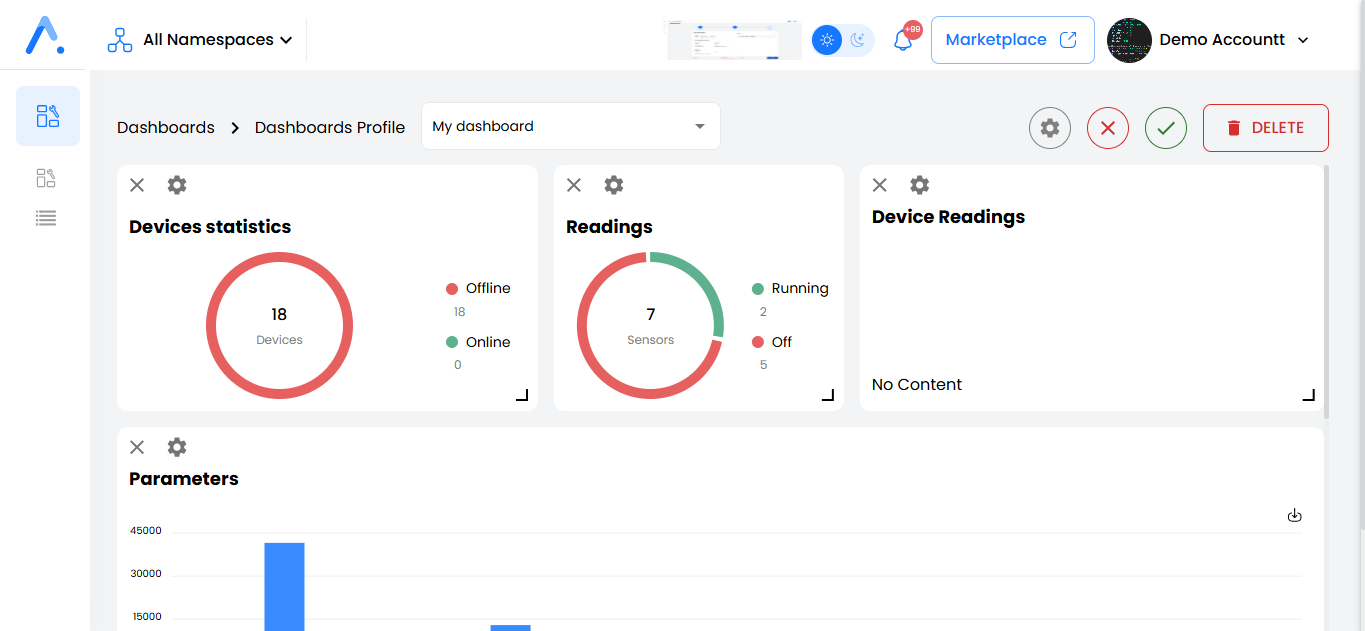
After editing, two icons allow users to:
- Save changes
- Discard changes
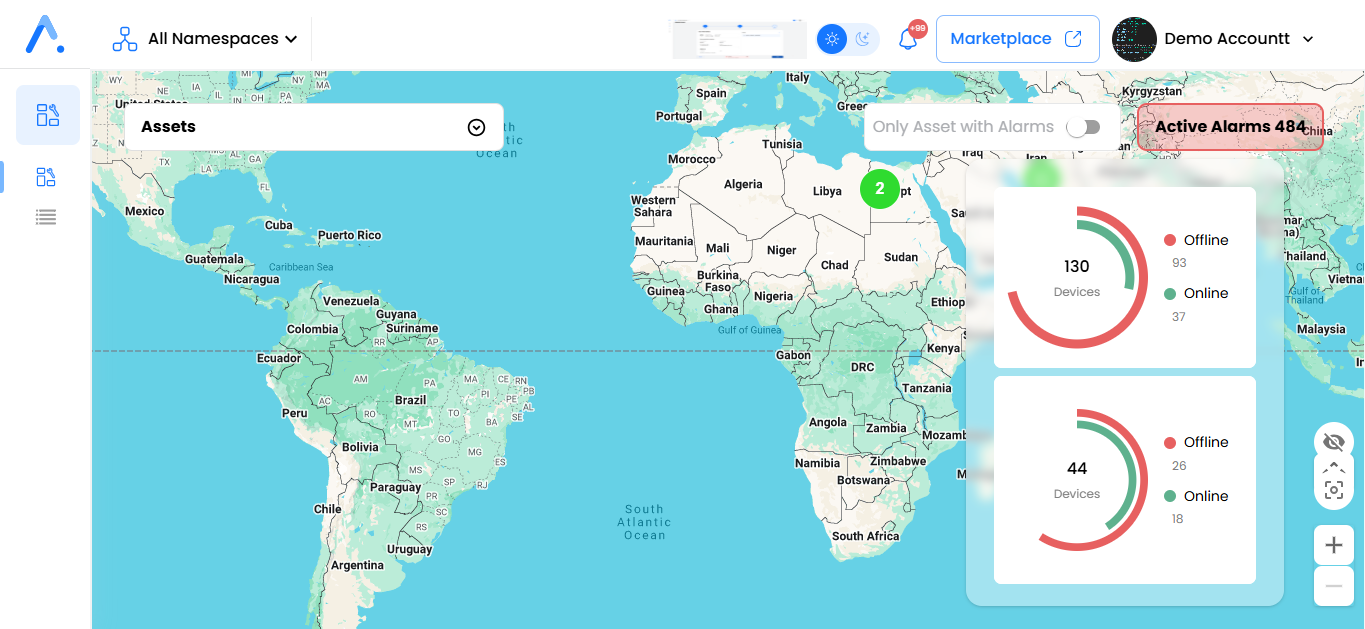
Map Type
In this type, users will see:
- A map displaying all assets, with or without alarms.
- A toggle button to show only assets with alarms.
- A widget panel on the left (can be hidden using the eye icon).
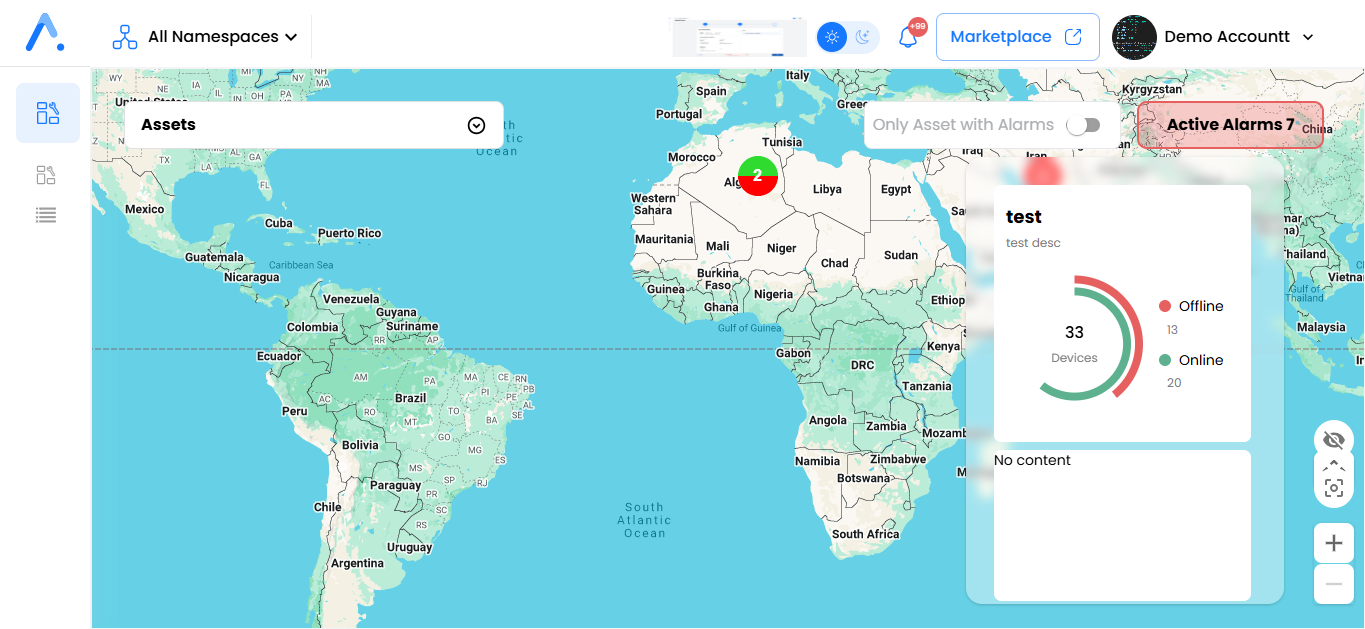
Users can also:
- Click the fullscreen icon to access the dashboard dropdown list, as well as the Delete and Edit buttons.
- Use Zoom In, Zoom Out, and Navigation Arrows to move around the map.
- The Edit process for the map dashboard follows the same method as the default dashboard.

Adding a New Dashboard
After clicking the Add button, the first step is to select the type of dashboard to create.

Default Type
On the next page, the user will:
- Click the Settings icon to:
- Enter the dashboard name (required).
- Add an optional description.
- Start dragging and dropping widgets onto the dashboard.
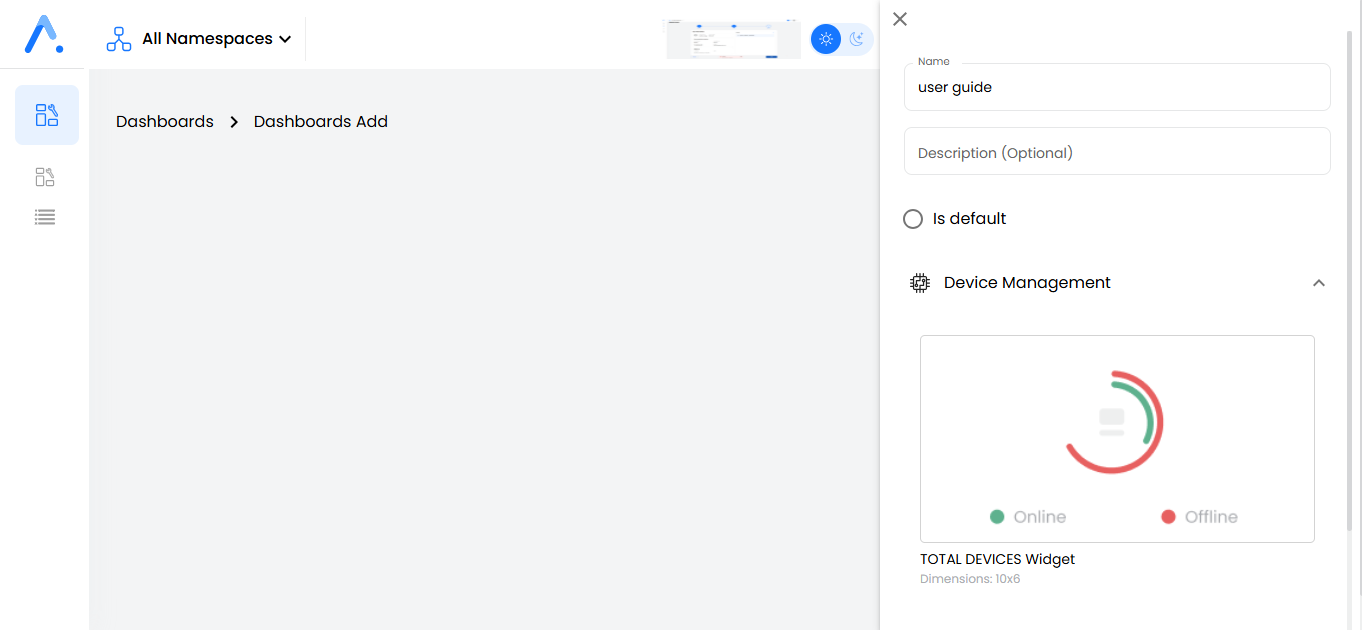
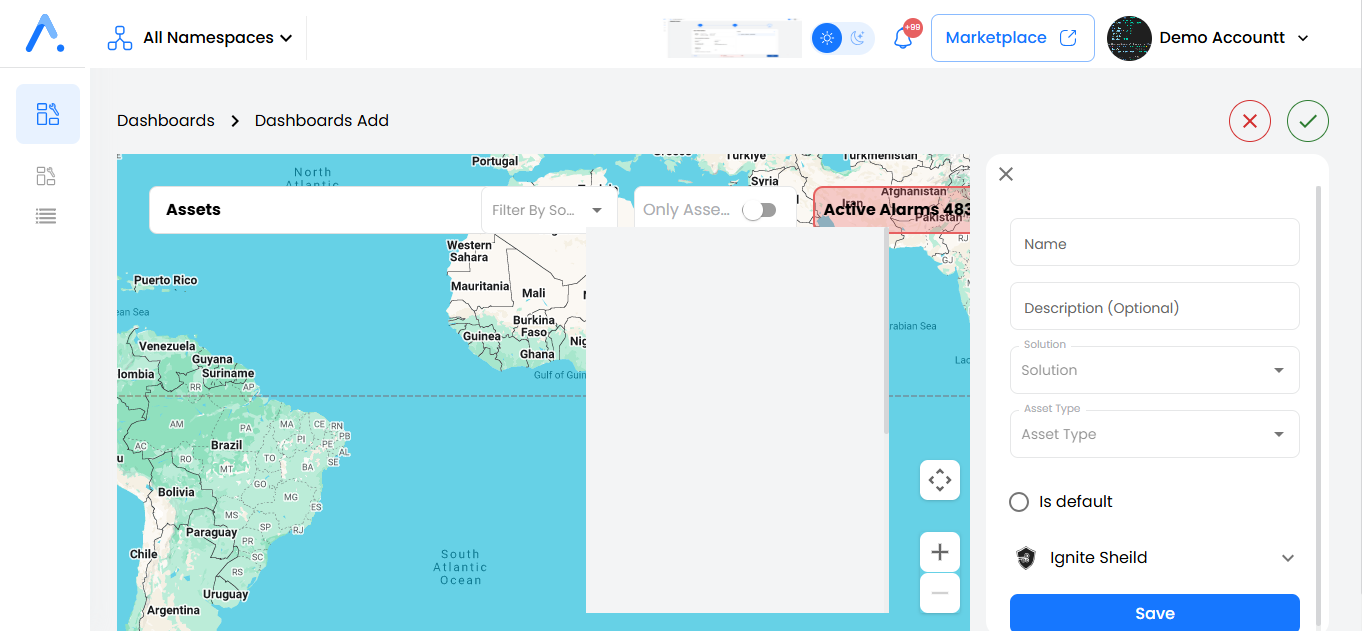
For each widget added, a side drawer will open where users can:
- Enter a title, subtitle, and solution (all optional).
- Leave all fields empty if not needed.
- Click Save Changes to confirm.
Users can resize widgets and continue adding as many as needed.

Once all widgets are added, click Save to finalize the dashboard.
Map Type
For Map Type, the steps remain the same, except:
- The background will be a map instead of a blank canvas.
That’s all for the Dashboard Builder! 🚀